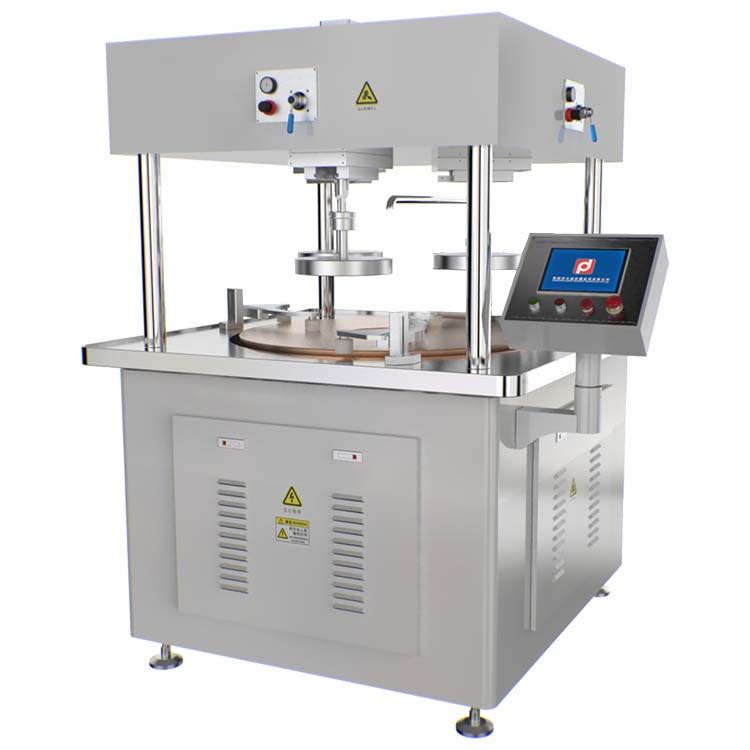
The "mirror finish" produced by a mirror polishing machine is judged by data rather than by the eye
In a precision manufacturing workshop, when the hum of the mirror polishing machine ceases, the "mirror effect" emerging on the workpiece surface never fails to evoke admiration. Yet this mirror-like luster is never a subjective judgment of "looking bright enough" — the core mission of a mirror polishing machine is to convert "visual aesthetics" into quantifiable, precise data, with every indicator embodying the rigorous standards of industrial manufacturing.
An ordinary polishing machine may produce a "reflective surface," but the "true mirror finish" crafted by a mirror polishing machine must pass the inspection of three quantitative indicators. These indicators act like precise "rulers" measuring the caliber of the polishing process.
Mirror polishing machines have three core data indicators:
Surface Roughness (Ra): The "smoothness code" at the nanoscaleSurface Roughness (Ra) is the "basic assessment criterion" for mirror polishing machines, representing the height difference between peaks and valleys on the workpiece surface. The smaller the value, the closer the surface is to an ideal flat plane. The goal of a mirror polishing machine is to minimize this value:Metal workpieces require Ra ≤ 0.0005μm, while high-end optical components have even stricter requirements of Ra ≤ 0.0002μm.
Reflectivity: A dual test of "brightness and precision" for mirror polishing machinesReflectivity is the most intuitive manifestation of the mirror effect, but mirror polishing machines do not pursue "the brighter the better," but rather "precise brightness."At the 550nm visible light wavelength (to which the human eye is most sensitive), the reflectivity of metal workpieces processed by a mirror polishing machine must reach ≥ 90%. More critically, the reflected image must be "zero-distortion" — when a straight line is projected onto the surface, the reflection remains perfectly straight, without any curvature or blurriness.This indicator requires no subjective evaluation; a spectrophotometer can directly read the data. The process selection and abrasive choice of the mirror polishing machine are the core factors determining whether reflectivity meets standards.
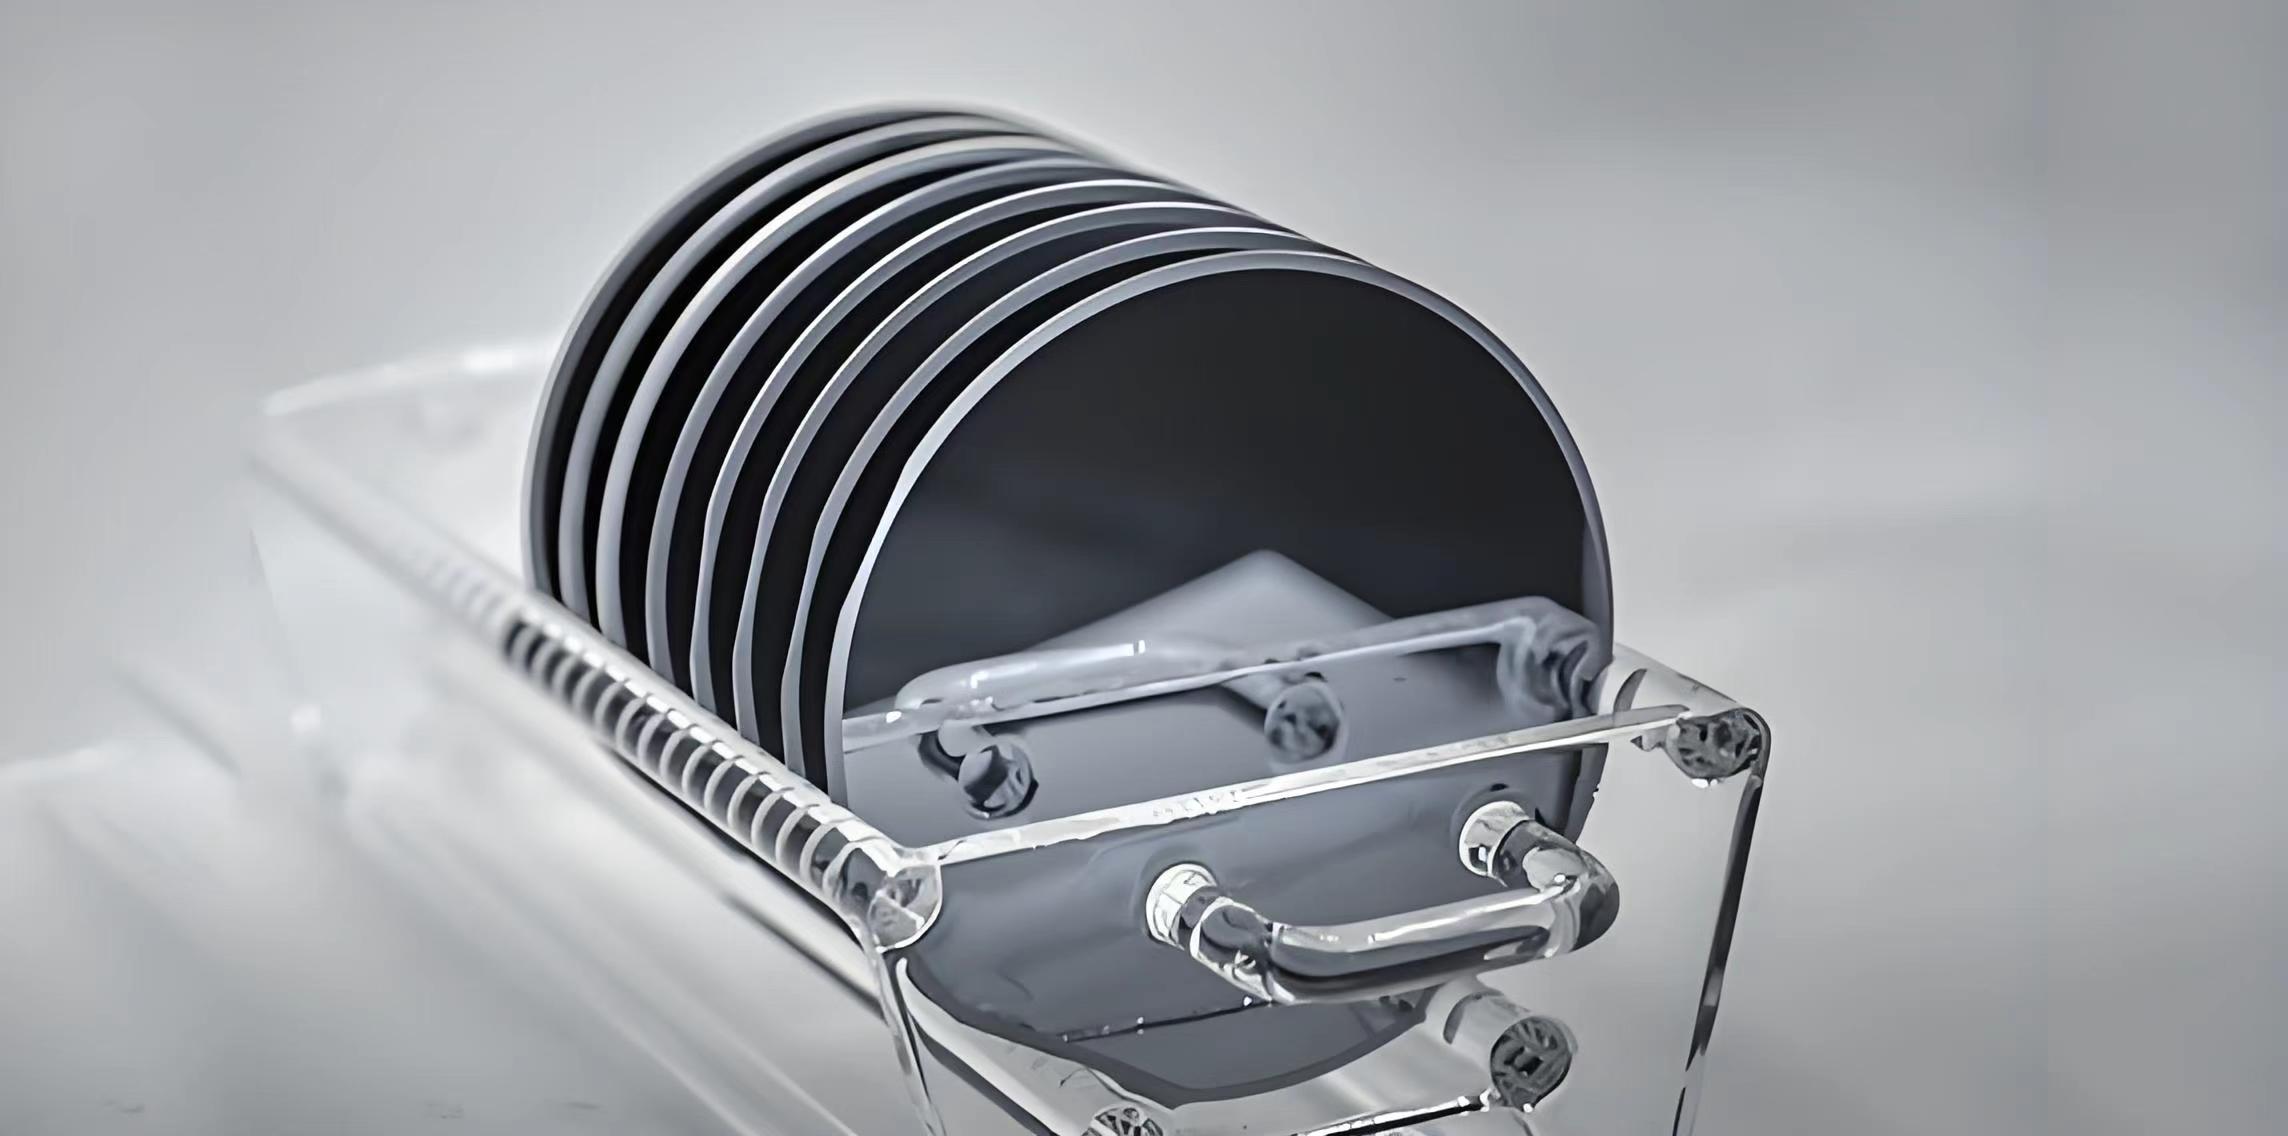
Defect Density: The "zero-defect" threshold under the microscopeEven if roughness and reflectivity meet standards, the mirror polishing machine’s "work" is not done — defect density testing is the final "checkpoint." Industrial standards for mirror finishes are extremely stringent: per square centimeter of surface, the number of scratches ≥ 50μm in length must be ≤ 1, and the number of pits ≥ 1μm in diameter must be ≤ 0.5.During inspection, engineers use a 100x metallurgical microscope to examine the entire surface; any tiny flaw may result in a "one-vote veto." This is why mirror polishing machines are equipped with high-precision polishing heads and high-quality polishing fluids — any lack of rigor in either component could cause fatal scratches or debris, directly rendering high-end workpieces such as semiconductor wafers and optical lenses obsolete.
In summary, if evaluating the quality of a
mirror polishing machine from a professional perspective, pay close attention to the above parameters: behind the stunning luster lies the machine’s pursuit of nanoscale precision, and more importantly, the industrial rigor of "data having the final say." After all, what a
mirror polishing machine produces is never just a "bright surface," but a "data-verified mirror finish" that stands up to scrutiny.


