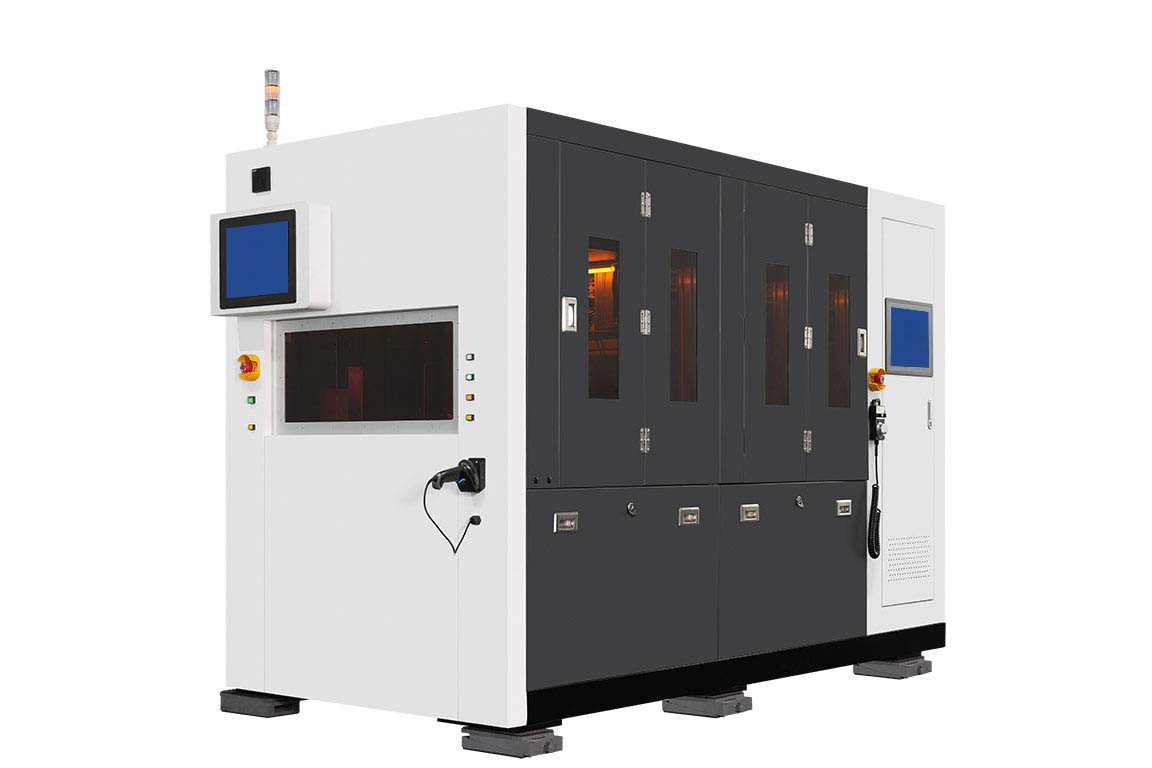
How to Achieve Precise and Efficient Wafer Thinning on Backside Wafer Thinning Machine
The core criteria for precise and efficient wafer thinning on a
Backside Wafer Thinning Machine are thickness control accuracy of ±1–2 μm, TTV (Total Thickness Variation) ≤ 2 μm, and zero defects such as edge chipping, microcracks, and surface scratches. This is achieved through systematic coordination of wafer pre‑processing, equipment and consumable matching, precise process control, and full‑process quality monitoring, with the core goal of balancing material removal efficiency and wafer integrity.
1. Prerequisites: Pre‑processing and Equipment‑Consumable Matching
Wafer pre‑processing must ensure qualified initial flatness, a backside free of impurities and oxide layers, and frontside protection (high‑adhesion UV tape/blue tape) to avoid damage to frontside patterns during processing. For equipment, spindle radial runout must be calibrated to ≤ 0.5 μm, and feed mechanism positioning accuracy to ≤ 0.1 μm. Consumables must be matched in stages: 500–2000# diamond grinding wheels for rough grinding and 3000–8000# resin‑bonded grinding wheels for fine grinding. Cross‑contamination between different grit sizes is strictly prohibited. The cooling system must be pre‑adjusted to maintain a stable flow rate of 10–15 L/min.
2. Core Process: Precise Control of Staged Grinding
2.1 Rough Grinding
Aims at efficient removal of excess material. Spindle speed is controlled at 1500–2500 rpm, grinding pressure at 0.3–0.5 MPa. Through rigid grinding, wafer thickness is rapidly reduced to target value +20–30 μm.
2.2 Fine Grinding
Focuses on ensuring precision and surface quality. Spindle speed is increased to 3000–4000 rpm, pressure reduced to 0.1–0.2 MPa. Micro‑cutting corrects thickness deviations and reduces surface roughness to Ra ≤ 5 nm.
3. Quality Control: Defect Prevention and Dual Inspection
Workshop cleanliness is maintained at ≥ Class 100 throughout the process to prevent dust‑induced scratches. Real‑time temperature is controlled at ≤ 40 ℃ to avoid microcracks caused by thermal stress. Defect handling: reduce grinding pressure and inspect wheel flatness for edge chipping; compensate feed via in‑line measurement for thickness deviations. Inspection follows a dual “instrument + visual” standard: laser thickness gauges monitor thickness and TTV at multiple points, and microscopes inspect surface defects to meet packaging process requirements.


